-
 ×
× - Home
- Art Prints ▸
- Artists ▸
- Categories ▸
- Art Styles ▸
- Picture Frame ▸
- All decorative frames
- Baroque decorative frames
- Simple decorative frames
- Rustic decorative frames
- Floating frames
- Golden decorative frames
- Silver decorative frames
- White decorative frames
- Black decorative frames
- Wood-look decorative frames
- Shabby chic decorative frames
- Thin decorative frames
- Thick decorative frames
- Print Media ▸
- All print media
- Canvas Leonardo (satin)
- Canvas Salvador (matte)
- Canvas Raphael (matte)
- FineArt Photo Matte
- FineArt Photo Satin
- FineArt Photo Baryte
- FineArt Photo Glossy
- Watercolor Paper Munch
- Watercolor Paper Renoir
- Watercolor Paper Turner
- Watercolor Paper Dürer
- Natural Line Hemp
- Natural Line Rice
- Kozo White, 110g
- Kozo Natural, 110g
- Inbe White, 125g
- Unryu, 55g
- Bamboo, 110g
- Premio Unryu, 165g
- Murakumo Natural, 42g
- Bizan Natural, 300g
- Bizan White, 300g
- Aluminum composite 3mm
- Acrylic glass 5mm
- Order Sample Set
- Which print medium is right for you?
Canvas
Photo Paper
Watercolor Board
Natural Line
Japanese Paper
Special Media
More information
- Help & Service ▸
- Contact us
- Sell your art
- Frequently Asked Questions
- Job Openings
- Complaint
- Order Samples
- Order Vouchers
- Shipping costs
- Production time
- Sustainability
- Image research
- Special requests
- Who are we?
- Pricing policy
- Company policy
- Quality promise
- Awards
- Stretcher frame
- Mats
- Decorative frames
- Glazing
- Fillets
- Mounting systems
- Print media
- Care tips
- Legal Notice
- Terms & Conditions
- Privacy Policy
- Right of Cancellation
Info & Service
More information
Good to know
Legal information
- Shop ▸
- Contact





 View in 3D / AR
 Add to favorites
 Change wall color
 View picture in a room
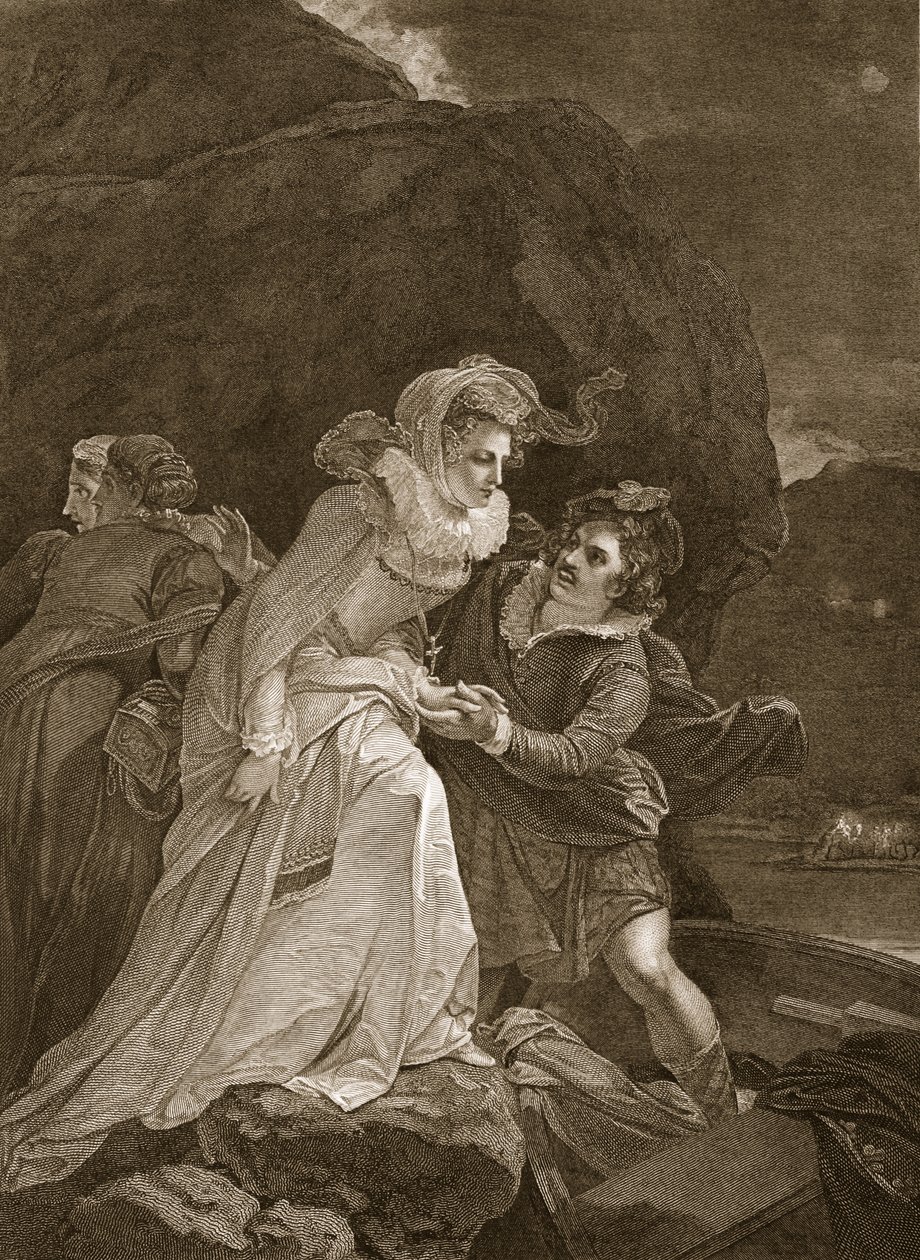
.jpg "Chas. Edward The Pretender and Flora Macdonald")
.jpg "Sarah Kemble")
.jpg "The Tempest, Act V, Scene I")
.jpg "Mrs. Cibber as Cordelia in King Lear, Act III")
.jpg "Actress Susannah Maria Cibber in the Role of Cordelia")
.jpg "Leucothoe Seduced by Apollo in the Shape of Eurynome, 1731")
.jpg "The Forest, Act II, Scene VII, from")
.jpg "Act V Scene I from The Tempest")
.jpg "Pisanio and Imogen Shakespeare, Cymbeline, Act 3, Scene 4")
_Opie_-_Duke_of_York_brother_to_Edward_V_resigned_by_the_Queen_engraved_by_J_Fittler_ill_-_(MeisterDrucke-959469).jpg "Duke of York, Brother to Edward V, Resigned by the Queen, Engraved by J. Fittler, Illustration from David Hume")
.jpg "Lord of the Isles, 1823")
.jpg "Design for the Cover Leaf of the Sheet Music An Elegy Set to Music by Thomas Commins")
.jpg "Illustration from")
_Opie_-_Elizabeth_Woodville_surrendering_her_son_(litho)_-_(MeisterDrucke-996991).jpg "Elizabeth Woodville surrendering her son")
.jpg "Paris, the King")
 engraved by Luigi Schiavonetti (1765-1810) - (MeisterDrucke-90988).jpg "In Calchas")
.jpg "Greek Lovers")
.jpg "Bible of Royaumont, Old Testament: Death of Holofernes. Judith cuts off Holofernes")
.jpg "The Tempest, Act I Sc. 3")
.jpg "Vertumnus and Pomona")
.jpg "Mr. Dimond and Miss Wallis in the Characters of Romeo and Juliet, May 1, 1796")
.jpg "Ferdinand Reunited with his Father")
_-_Dante_en_Vergilius_betreden_de_hel_door_een_poort_-_(MeisterDrucke-1361307).jpg "Dante and Virgil Entering Hell through a Gate")
.jpg "Lord W. Russel")
.jpg "Absalom")
_-_(MeisterDrucke-87516).jpg "A Meeting Place for Love")
.jpg "Greek Lovers")
.jpg "The Mocking of Ceres")
 published London - (MeisterDrucke-85932).jpg "Elizabeth Woodville, Queen Consort of King Edward IV of England, surrendering her son, from")
.jpg "Church and Cottage with Lighted Windows")
.jpg "Portrait of a bodybuilder, c. 1898")
.jpg "The")
.jpg "Portrait of King Richard III")
 c1740-50 - (MeisterDrucke-77045).jpg "Kidbrooke Park, Kent, formerly attributed to George Lambert (1700-65) c.1740-50")
_Socrates_-_-_From_series_-_(MeisterDrucke-1061281).jpg "Portrait of the Greek philosopher Socrates (469-399 BC) - From the series “Leaders of Men” - Chromolithography - English School, 20th century")
_-_(MeisterDrucke-1421446).jpg "Map of Europe in 1910")
.jpg "Detailed Map of Gallipoli Peninsula and the Dardanelles, Turkey, 1915, from")
.jpg "Romeo buys poison from the apothecary, illustration from Romeo and Juliet, from \"The Illustrated Library Shakespeare\", published in London 1890")
_p_-_(MeisterDrucke-63913).jpg "Poster advertising ‘A Midsummer Night")
.jpg "Scorpion Fish, plate 8 from “The Zoology of the Voyage of H.M.S Beagle, 1832-36” by Charles Darwin")
.jpg "An Allegory of the Tudor Succession: The Family of Henry VIII, c. 1589-95")
.jpg "Map of the world with possessions of the British Empire coloured red, c. 1870")
_Henry_M_-_(MeisterDrucke-421535).jpg "A Map of Africa to Illustrate the Travels of David Livingstone (1813-73), Henry Morton Stanley (1841-1904) and Verney Lovett Cameron (1844-94)")
.jpg "‘Cunard Line - Monarchs of the Sea’, poster for the Lusitania and Mauretania")
.jpg "The Guardian of Paradise")
.jpg "Indian Roller on Sandalwood Branch, folio from a Series Commissioned by Lady Impey, 1779")
.jpg "Dance at Le Moulin de la Galette")
 engraved by Langlois from Choix des Plus Belles Fleurs 1827-33 - (MeisterDrucke-206143).jpg "Sweet Peas (Lathyrus odoratus), engraved by Langlois, from Choix des Plus Belles Fleurs, 1827-33")
.jpg "Red Balloon, 1922")
.jpg "Uttewalde Valley")
.jpg "Poster advertising the Baron Hotel in Aleppo, c. 1920")
.jpg "Haymaking")
.jpg "Venus and Mars")
.jpg "Interior with Young Woman from Behind")
.jpg "Reflection in the Surface of the Water, Misaka, Kai Province from the series Thirty-Six Views of Mt Fuji, 1830-1833")
.jpg "Mountain farmers mowing")
.jpg "A Corner of the Garden at Montgeron, 1876-7")
.jpg "On Board a Sailing Ship")
.jpg "Evening at the Iris Field")

 +43 4257 29415
 support@meisterdrucke.com
 Mo-Do: 7:00 - 16:00 | Fr: 7:00 - 13:00