-
 ×
×
- Home
- Art Prints ▸
- Artists ▸
- Categories ▸
- Art Styles ▸
-
Picture Frame ▸
- All decorative frames
- Baroque decorative frames
- Simple decorative frames
- Rustic decorative frames
- Floating frames
- Golden decorative frames
- Silver decorative frames
- White decorative frames
- Black decorative frames
- Wood-look decorative frames
- Shabby chic decorative frames
- Thin decorative frames
- Thick decorative frames
-
Print Media ▸
- All print media
- Canvas Leonardo (satin)
- Canvas Salvador (matte)
- Canvas Raphael (matte)
- FineArt Photo Matte
- FineArt Photo Satin
- FineArt Photo Baryte
- FineArt Photo Glossy
- Watercolor Paper Munch
- Watercolor Paper Renoir
- Watercolor Paper Turner
- Watercolor Paper Dürer
- Natural Line Hemp
- Natural Line Rice
- Kozo White, 110g
- Kozo Natural, 110g
- Inbe White, 125g
- Unryu, 55g
- Bamboo, 110g
- Premio Unryu, 165g
- Murakumo Natural, 42g
- Bizan Natural, 300g
- Bizan White, 300g
- Aluminum composite 3mm
- Acrylic glass 5mm
- Order Sample Set
- Which print medium is right for you?
Canvas
Photo Paper
Watercolor Board
Natural Line
Japanese Paper
Special Media
More information
-
Help & Service ▸
- Contact us
- Sell your art
- Frequently Asked Questions
- Job Openings
- Complaint
- Order Samples
- Order Vouchers
- Shipping costs
- Production time
- Sustainability
- Image research
- Special requests
- Who are we?
- Pricing policy
- Company policy
- Quality promise
- Stretcher frame
- Mats
- Decorative frames
- Glazing
- Fillets
- Mounting systems
- Print media
- Care tips
- Legal Notice
- Terms & Conditions
- Privacy Policy
- Right of Cancellation
Info & Service
More information
Good to know
Legal information
- Shop ▸
- Contact





 View in 3D / AR
 Add to favorites
 Change wall color
 View picture in a room
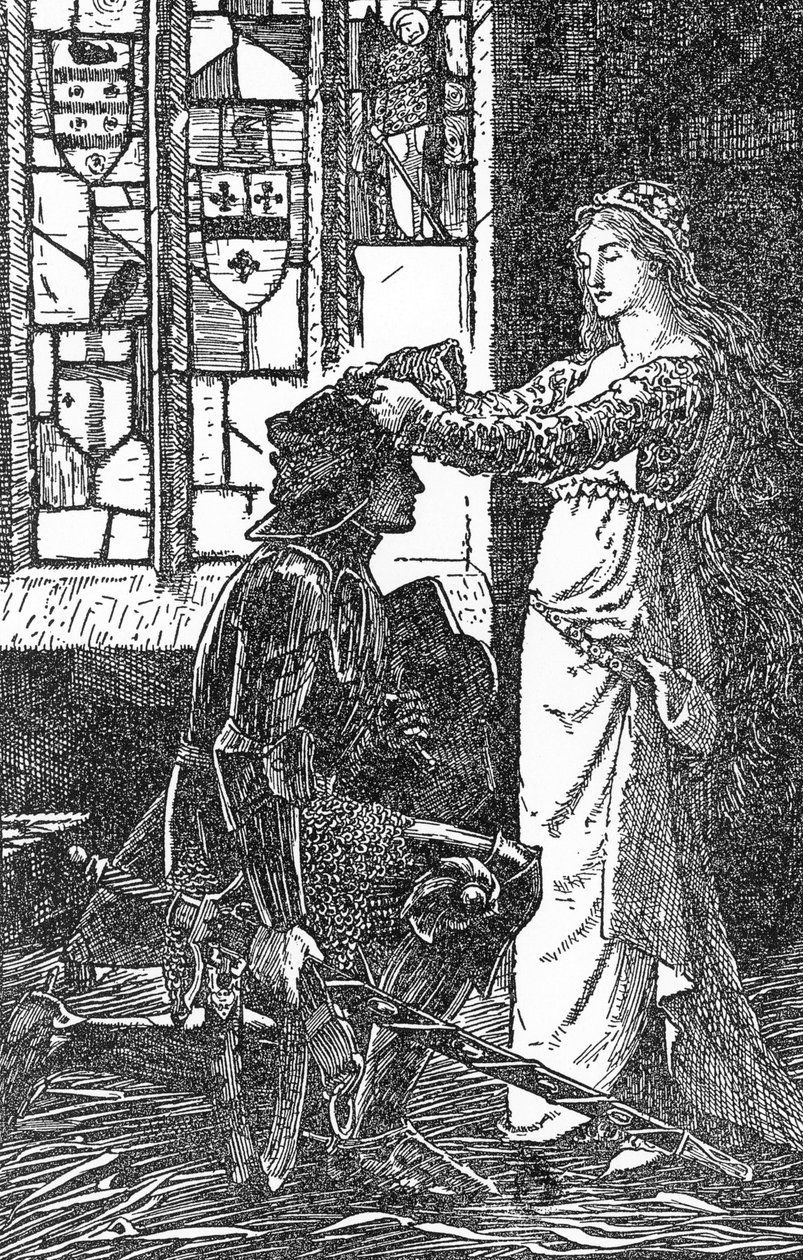
.jpg "Elaine ties her sleeve around Sir Lancelot")
.jpg "Put away from you that sword")
.jpg "The Queen Cried to Him to Forbear")
.jpg "Edward III and the Countess of Salisbury")
.jpg "Scene from Shakespeare")
.jpg "Decameron - Fifth Day, Story 4 - The Nightingale")
.jpg "King Anguish Gives Isolt to Sir Tristram")
.jpg "Illustration for Scene 3 of Act I of")
.jpg "Put away from you that sword, illustration from")
.jpg "Margaret and the Robber, 1902")
.jpg "Faust")
.jpg "The Queen Cried to Him to Forbear, Illustration from")
.jpg "Elizabeth at Traitors Gate")
_-_Illustration_in_Works_complete_b_-_(MeisterDrucke-918863).jpg "Troilus and Cressida - Illustration in Works complete by William Shakespeare 1866")
.jpg)
.jpg "Queen Anne (1665-1714) Receiving Prince Eugene (1663-1736) of Austria")
.jpg "The Two Kings")
_was_-_(MeisterDrucke-939576).jpg "Lucretia")
.jpg "Sir Gawaine knoweth the shield of Sir Launcelot, illustration from")
.jpg "A Seventeenth-Century Shoemaker Fitting a Distinguished Customer, illustration from")
.jpg "William Lee, English Inventor of the Frame-Knitting Machine, 19th Century")
.jpg "King Anguish gives Isolt to Sir Tristram, illustration from")
.jpg "King Richard I Beside the Dead Body of His Father, King Henry II")
.jpg "Illustration of the star-crossed lovers in Romeo and Juliet")
.jpg "Sir Launcelot Confideth his Shield to Elaine the Fair, Illustration from")
.jpg "The Old Griffin")
.jpg "Eva in the workshop of Hans Sachs (Act III of the opera")
.jpg "Counsel is Mine and Sound Prudence")
.jpg "The Twelve Hunters")
.jpg "Michael Lambourne drinks with the landlord of the Black Bear, illustration from Kenilworth, c. 1910")
.jpg "The Cardinal of Perigord comes to the English camp to negotiate with the Black Prince")
_to_the_Styes_frontispiece_from_-_(MeisterDrucke-313519).jpg "Circe sends the Swine (The Companions of Ulysses) to the Styes, frontispiece from")
.jpg "Waterloo, 7pm, June 18th")
.jpg "Walter Raleigh sacrifices his cloak for Queen Elizabeth, illustration from Kenilworth")
.jpg "How the Horse Sympathised with St Columba")
 - (MeisterDrucke-201429).jpg "The Adventure with Scylla, from")
.jpg "Prince Rupert at Oxford, Going to Battle, Illustration from")
.jpg "Ulysses Shoots the First Arrow at the Wooers, from")
.jpg "The Landing of the Romans, Illustration from")
.jpg "The Landing of the Danes, illustration from")
.jpg "The Judgement of Paris")
.jpg "The Peasants Revolt, illustration from")
.jpg "Queen of Snakes, Give me back my husband, illustration from The Olive Fairy Book by Andrew Laing, 1907")
.jpg "King Athamas Steals Nephele")
.jpg "Munich Beer Garden")
.jpg "The Zaporozhye Cossacks Writing a Letter to the Turkish Sultan, 1890-91")
.jpg "Intersecting Lines, 1923")
.jpg "Suprematist Composition: White on White, 1918")
.jpg "Female Lute Player")
.jpg "Tondal")
.jpg "Mars and Venus, Allegory of Peace")
.jpg "Autumn Landscape with Four Trees")
.jpg "Young Hare")
_-_(MeisterDrucke-905712).jpg "Will He Come Back?, c.1918")
.jpg "Ophelia, 1894")
.jpg "Impression: Sunrise, 1872")
.jpg "The Lady of Shalott")
.jpg "Landscape from Saint-Rémy")
.jpg "Waterlilies: Green Reflections, 1914-18 (left and right section)")

 +43 4257 29415
 support@meisterdrucke.com
 Mo-Do: 7:00 - 16:00 | Fr: 7:00 - 13:00