-
 ×
×
- Home
- Art Prints ▸
- Artists ▸
- Categories ▸
- Art Styles ▸
-
Picture Frame ▸
- All decorative frames
- Baroque decorative frames
- Simple decorative frames
- Rustic decorative frames
- Floating frames
- Golden decorative frames
- Silver decorative frames
- White decorative frames
- Black decorative frames
- Wood-look decorative frames
- Shabby chic decorative frames
- Thin decorative frames
- Thick decorative frames
-
Print Media ▸
- All print media
- Canvas Leonardo (satin)
- Canvas Salvador (matte)
- Canvas Raphael (matte)
- FineArt Photo Matte
- FineArt Photo Satin
- FineArt Photo Baryte
- FineArt Photo Glossy
- Watercolor Paper Munch
- Watercolor Paper Renoir
- Watercolor Paper Turner
- Watercolor Paper Dürer
- Natural Line Hemp
- Natural Line Rice
- Kozo White, 110g
- Kozo Natural, 110g
- Inbe White, 125g
- Unryu, 55g
- Bamboo, 110g
- Premio Unryu, 165g
- Murakumo Natural, 42g
- Bizan Natural, 300g
- Bizan White, 300g
- Aluminum composite 3mm
- Acrylic glass 5mm
- Order Sample Set
- Which print medium is right for you?
Canvas
Photo Paper
Watercolor Board
Natural Line
Japanese Paper
Special Media
More information
-
Help & Service ▸
- Contact us
- Sell your art
- Frequently Asked Questions
- Job Openings
- Complaint
- Order Samples
- Order Vouchers
- Shipping costs
- Production time
- Sustainability
- Image research
- Special requests
- Who are we?
- Pricing policy
- Company policy
- Quality promise
- Stretcher frame
- Mats
- Decorative frames
- Glazing
- Fillets
- Mounting systems
- Print media
- Care tips
- Legal Notice
- Terms & Conditions
- Privacy Policy
- Right of Cancellation
Info & Service
More information
Good to know
Legal information
- Shop ▸
- Contact





 View in 3D / AR
 Add to favorites
 Change wall color
 View picture in a room
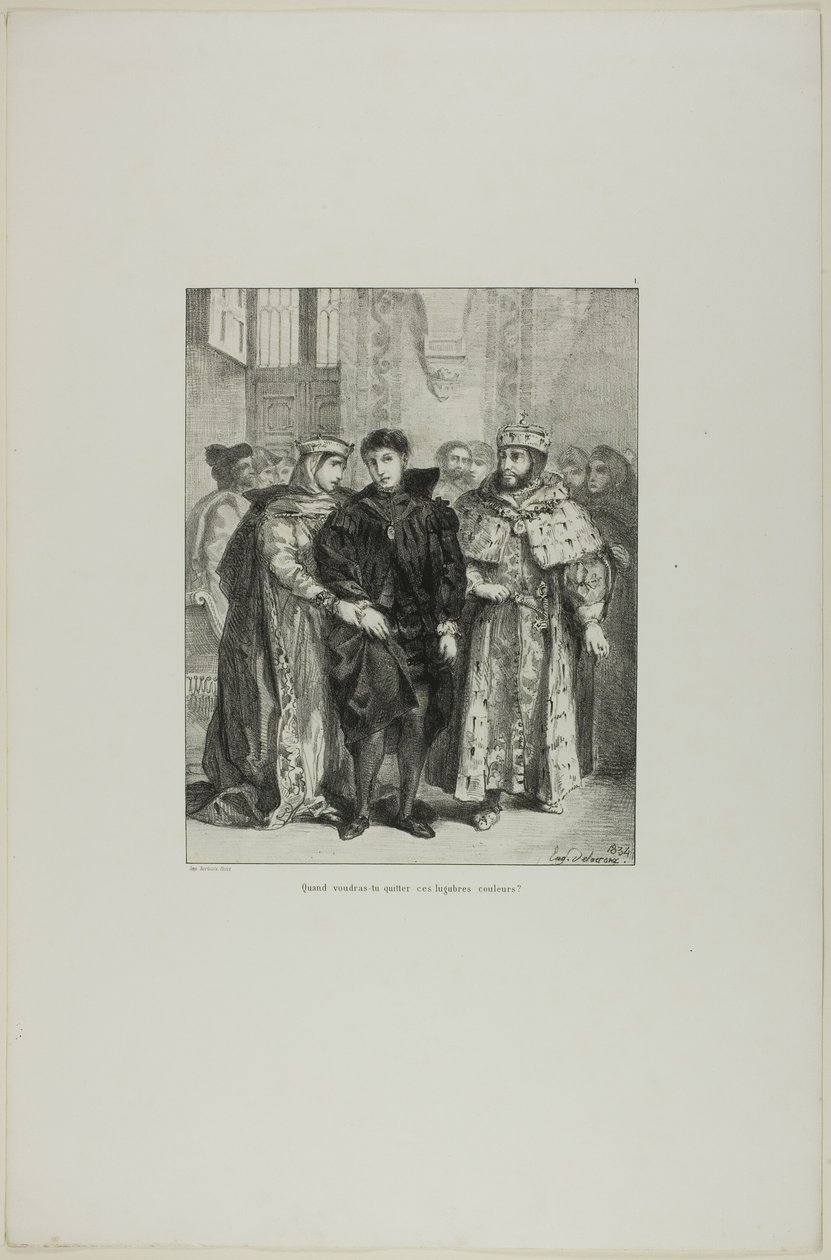
.jpg "The Queen Tries to Console Hamlet, 1834")
_-_(MeisterDrucke-1300757).jpg "Illustration to Hamlet. The Queen Tries to Cheer Hamlet (I,2)")
.jpg "Hamlet, 1834")
.jpg "Hamlet")
.jpg "Hamlet: The Queen Endeavors to Console Hamlet")
.jpg "The Queen Tries to Console Hamlet (Act I, Scene II)")
_-_(MeisterDrucke-1245882).jpg "The Queen Tries to Console Hamlet (Act I, Scene II)")
.jpg "Two Illustrations on a Leaf")
_from_Othello_-_(MeisterDrucke-1300441).jpg "Honest Iago, Desdemona Must I Leave to Thee, plate 4 (act 1, scene 3), from Othello")
.jpg "Hamlet")
.jpg "She Loved Me for the Dangers, plate three from Othello")
.jpg "Polonius and Hamlet, plate 4 from Hamlet")
.jpg "Prince of Morocco")
.jpg "Weislingen Held Prisoner by Goetz")
.jpg "Illustration")
_from_Othello_-_(MeisterDrucke-1283452).jpg "She Loved Me for the Dangers I Had Passed, plate 3 (act 1, scene 3) from Othello")
.jpg "Generosity of Alexander the Great")
.jpg "Honest Iago, my Desdemona must I leave to thee, plate four from Othello")
.jpg "For the Support of the Church Staff, if You Please...")
.jpg "Hamlet and Guildenstern, plate 6 from Hamlet")
.jpg "Honest Iago, my Desdemona must I leave to thee, plate four from Othello")
.jpg "Edward, Prince of Wales, Presenting the Captive King John of France and His Sons to His Father Edward the Third After the Battle of Poitiers")
.jpg "Faust Tries to Seduce Gretchen (series title: Faust, Tragedy by Goethe)")
.jpg "Chronicles of France: Scene of the Fronde - The Prince of Condé")
.jpg "He Presents Himself to the Sixteen, and Asks for Irons...")
.jpg "Lucentio")
.jpg "Chronicles of France: Scene of the Fronde - The Prince of Condé")
.jpg "Villain, Thou Diest, plate ten from Othello")
.jpg "Charles V")
.jpg "The Combat of the Giaour and Hassan, 1826")
_-_(MeisterDrucke-1254739).jpg "Jewish Woman of Algiers and a Street in Algiers")
.jpg "Flower Still Life")
.jpg "Tiger")
_Sketch_of_Upper_Arm_(verso)_-_(MeisterDrucke-1286076).jpg "Standing Academic Male Nude (recto); Sketch of Upper Arm (verso)")
.jpg "The Vampire, 1852")
.jpg "The Death of Ophelia, 1853")
_-_(MeisterDrucke-1246496).jpg "Players Enacting the Poisoning of Hamlet")
_-_(MeisterDrucke-1257151).jpg "The Murder of Polonius (Act III, Scene IV)")
.jpg "Women of Algiers, 1833")
.jpg "Tam O")
_-_(MeisterDrucke-1303623).jpg "Illustration for Hamlet: Hamlet and the Queen (III,4)")
.jpg "Saint Mary Magdalene in the Desert, 1845")
_-_(MeisterDrucke-1263818).jpg "Illustration for Hamlet: The Death of Hamlet (V,2)")
.jpg "Falling Leaves")
.jpg "The Greifswald Market")
.jpg "Tiger in a Tropical Storm")
.jpg "Starry Night Over the Rhône")
.jpg "Lake Thun with Symmetrical Reflection")
 Water-Lilies - (MeisterDrucke-21577).jpg "Water Lilies (\"Yellow Nirvana\")")
.jpg "The Boulevard Montmartre at Night")
.jpg "Impression, Sunrise, 1872")
.jpg "Standing Female Nude with Blue Cloth")
.jpg "Landscape scene from Thanatopsis, 1850")
.jpg "Children of the Sea")
.jpg "Avenue in the Park of Kammer Castle, 1912")
.jpg "Wheatfield")
.jpg "The Scarlet Sunset")
.jpg "Mars and Venus, Allegory of Peace")

 +43 4257 29415
 support@meisterdrucke.com
 Mo-Do: 7:00 - 16:00 | Fr: 7:00 - 13:00