support@meisterdrucke.com  ·  0043 4257 29415

Deutsch English Italiano Español Français Nederlands Português Svenska Polski Dansk
Search by artist, work title or style – e.g. Monet, Starry Night, Impressionism, Hokusai wave, nude. Describe the scene – e.g. green meadow, abstract with lots of red, dark oil painting, standing nude next to a tree.

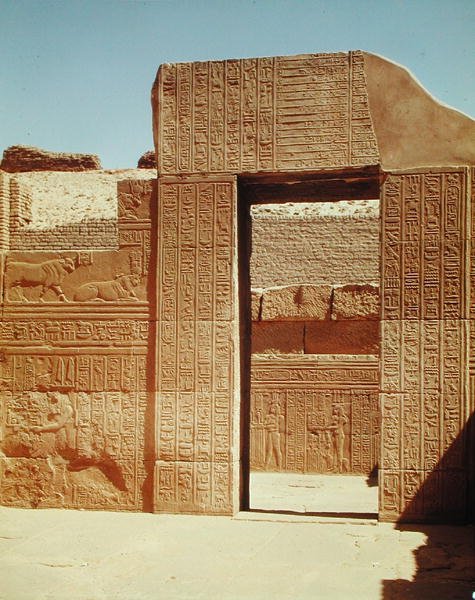
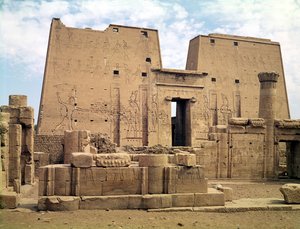
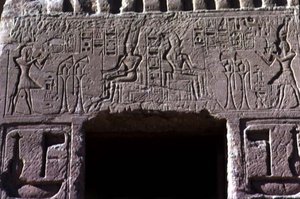
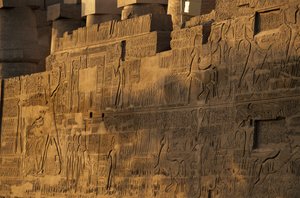
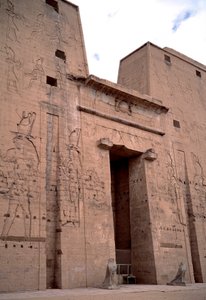
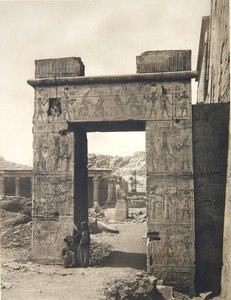
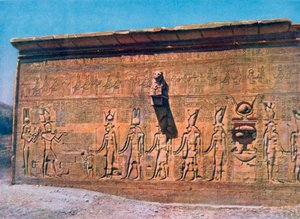
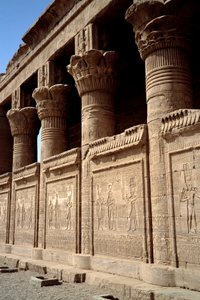
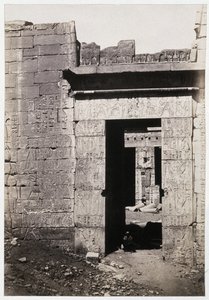
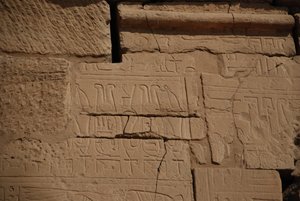
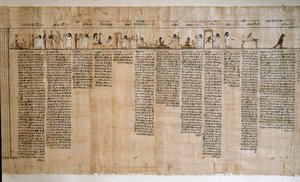
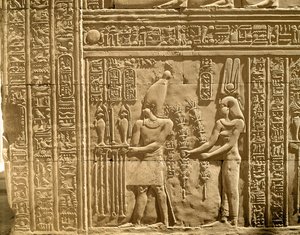
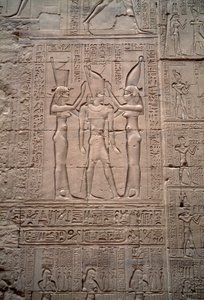
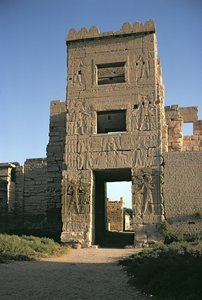
Gateway to the Third Hypostyle Hall by Egyptian Ptolemaic Period

Gateway to the Third Hypostyle Hall

(Gateway to the Third Hypostyle Hall )


Egyptian Ptolemaic Period

€ 123.19
Tax-free
   Configure art print
Undated  ·  Image ID: 584100

Ancient Art

Gateway to the Third Hypostyle Hall by Egyptian Ptolemaic Period. Available as an art print on canvas, photo paper, watercolor board, natural paper, or Japanese paper.
porte · entrance · hieroglyphics · architecture · relief depicting bulls · archaeological site · Temple of Sobek and Haroeris, Kom Ombo, Egypt / Bridgeman Images
AR/3D   View in 3D / AR zu Favoriten hinzufügen   Add to favorites    Change wall color    View picture in a room
0 Reviews

Configure art print

Picture Frame

Medium & Stretcher

Glass & Passepartout

Miscellaneous & Extras

 Save / compare configuration
Preview Icon

Summary

Gemälde
Veredelung
Keilrahmen
Museumslizenz

€ 123.19
(inkl. 20% MwSt)
   Add to cart

Bildschärfe: PERFEKT

If you'd like us to adjust the brightness, colors, or crop the image, we're happy to do this for you at no extra cost. Just get in touch!

Similar artworks selected for you

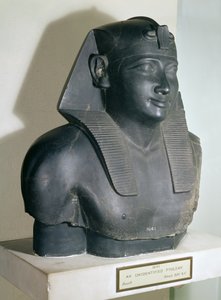
Great East Gate Egyptian antiquity: View of the Arch of the North Gate, Temple of Hathor, Denderah, Egypt Statue of Ramesses in a chapel leading from the Hypostyle Hall of the Mortuary Temple of Ramesses III Architrave, from the Temple of Horus View of the First Pylon of the Temple of Horus Lintel above the entrance doorway of the Temple of Queen Nefertari, New Kingdom, c.1250 BC The Pro-Pylon, or North Gate, at the Entrance to the Temple Depicting a Pharaoh Making Offerings to Gods, c.125 BC-AD 60 Ancient Thebes (UNESCO World Heritage List) Karnak Temple, Battle of Kadesh, North wall, relief of Ramses II, Hittites Pillars Decorated with Stylised Lotus and Papyrus Plants from the Great Temple of Amun Complex, New Kingdom Two Reliefs Depicting a Pharaoh Making an Offering to Hathor and Horus, and Hathor Suckling the Young Ihy Egyptian Antiquity: View of the Entrance to the Temple of Edfu Imhotep, Ancient Egyptian Physician Wall of Ramses II and the Temple of Tuthmosis Temple of Isis at Philae Wall of Aspelta Architrave with Carving from the Temple of Isis View of the First Pylon, New Kingdom Peristyle Court View of the First Pylon of the Mortuary Temple of Ramesses III Bas-relief of Cleopatra, Caesarion, Temple of Hathor, Dendara in Egypt Mortuary Temple of Ramses III. Detail of Columns and Walls Carved with Figures and Hieroglyphs Egyptian architecture: view of the Temple of Hathor in Denderah View of the Steps on the Roof, c.125 BC-AD 60 Stela 35 Edfu - Door of the Pylon Tanis Egypt, Drawings on Stone Ruin at Ancient City of Tanis with Hieroglyphics Ruins of Karnak, c.1900 Hieroglyphs on Stone, Karnak, Luxor, Egypt
Show more similar artworks

More art prints by Egyptian Ptolemaic Period

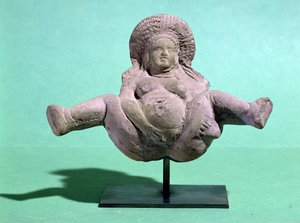
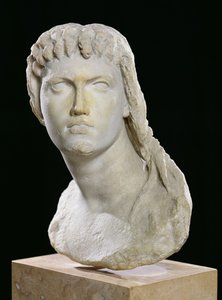
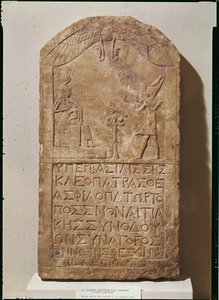
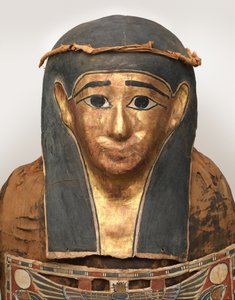
The Rosetta Stone, from Fort St. Julien, El-Rashid (Rosetta), 196 BC Egyptian Antiquity: Papyrus from the Book of the Dead. Ptolemaic period. Turin, Egyptian Museum, Italy Statue of the god Montu with the head of a bull, from Medamud (limestone) Statuette of a woman giving birth, given to pregnant women for a successful delivery, from Alexandria Relief Depicting Ptolemy VIII Euergetes II (Physkon) and Cleopatra III Making Offerings to the Gods Ancient Egyptian Art: Statuette of the god Thoth as a baboon. Ptolemaic period (332-30 BC). Silver, faience, gold, sculpture. From Hermopolis, Egypt. Height: 0.150 m. Bust of Cleopatra II (172-116 BC) or her daughter Cleopatra III (141-101 BC) The Gonzaga Cameo, depicting Ptolemy II Philadelphus (285-246 BC) and his wife Arsinoe portrayed as gods of the Greek pantheon, made in Alexandria, 3rd century BC Statue of a Ptolemaic Queen, perhaps Cleopatra VII, 200-30 BC, dolomitic limestone Stele dedicated to Isis depicting Cleopatra VII (69-30 BC) making an offering to Isis breastfeeding her son, Horus, 51 BC Egyptian antiquity: low relief depicting the coronation of King Ptolemy IV. Temple of Horus, Edfu, Egypt Fragment of an Egyptian-style statue of Ptolemy I, 305-283 BC (basalt) Ptolemy XII (c.112-51 BC) smiting his enemies, from the entrance pylon of the Temple of Horus Mummy of Nesmin (detail of mummy mask with plant wreath) Naos chapel dedicated to the goddess Isis by Ptolemy VIII (170-116 BC), from the Temple of Isis at Philae
Show more works by Egyptian Ptolemaic Period

A selection of our top sellers

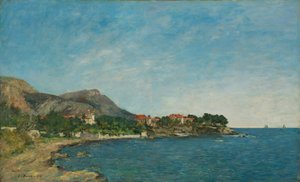
The Waterlilies - The Clouds (right side), 1914-18 Seaport with the Embarkation of the Queen of Sheba Beaulieu: The Bay of Fourmis, 1892 Hygieia Himalayas White-Bear-King-Valemon, 1912 The Two Crowns The Bookworm, c. 1850 Boreas, 1903 Indian Roller on Sandalwood Branch, folio from a Series Commissioned by Lady Impey, 1779 Study for “Passage of Humaitá” Road at La Cavée, Pourville View of Houses in Delft, Known as The Little Street Shichiri Beach in Sagami Province Blue, 1922
Show more artworks


What our customers think about us


Frequently Asked Questions about Meisterdrucke


Personalizing your art print at Meisterdrucke is simple and intuitive: Choose a frame, set the image size, pick a printing medium, and add suitable glazing or a stretcher frame. We also offer additional customization options like mats, fillets, and spacers. If you have any questions, our customer service team is ready to help you create your perfect artwork.

At Meisterdrucke, you can visualize your configured artwork directly in your own room. Simply upload a photo of your space and see how the artwork looks in it. If you're visiting us on a mobile device — phone or tablet — our augmented reality feature brings the picture to life and projects it right into your room. A unique experience that combines art and technology.

Choosing the right medium is often a matter of personal taste. To give you a better idea, we've provided some images for each medium. We also offer a sample set of all paper variants, so you can decide not just visually but by touch as well. You can order the sample set free of charge — only shipping costs apply.

Don't worry! At Meisterdrucke, we don't just process orders mechanically. Every order is manually reviewed by our team. If we spot any inconsistencies or issues with your configuration, we'll get in touch with you right away. And of course, our friendly and patient support team is always here to help you with your configuration. We'll work with you by phone or email to adjust your image so the final result is exactly what you had in mind.


Still have questions?

Are you interested in an art print from our manufactory but still unsure? Do you need advice on choosing the medium or help with the order?

Our experts are happy to assist you.

+43 4257 29415
support@meisterdrucke.com

Mo-Do: 7:00 - 16:00 | Fr: 7:00 - 13:00

Still have questions?

Are you interested in an art print from our manufactory but still unsure? Do you need advice on choosing the medium or help with the order?

Our experts are happy to assist you.

+43 4257 29415
support@meisterdrucke.com
Mo-Do: 7:00 - 16:00 | Fr: 7:00 - 13:00


Meisterdrucke

   Kärntner Strasse 46
        9586 Finkenstein am Faaker See
        Austria
        +43 4257 29415
        support@meisterdrucke.com
Other languages

                   
Erfahrungen & Bewertungen zu Meisterdrucke
Post.at DHL Express Quehenberger Cargoboard
Kaiser Franz Joseph

Meisterdrucke
Kärntner Strasse 46
9586 Finkenstein am Faaker See · Austria
+43 4257 29415 · support@meisterdrucke.com
Post.at DHL Express Quehenberger Cargoboard


(c) 2026 meisterdrucke.us