support@meisterdrucke.com  ·  0043 4257 29415

Deutsch English Italiano Español Français Nederlands Português Svenska Polski Dansk
Search by artist, work title or style – e.g. Monet, Starry Night, Impressionism, Hokusai wave, nude. Describe the scene – e.g. green meadow, abstract with lots of red, dark oil painting, standing nude next to a tree.

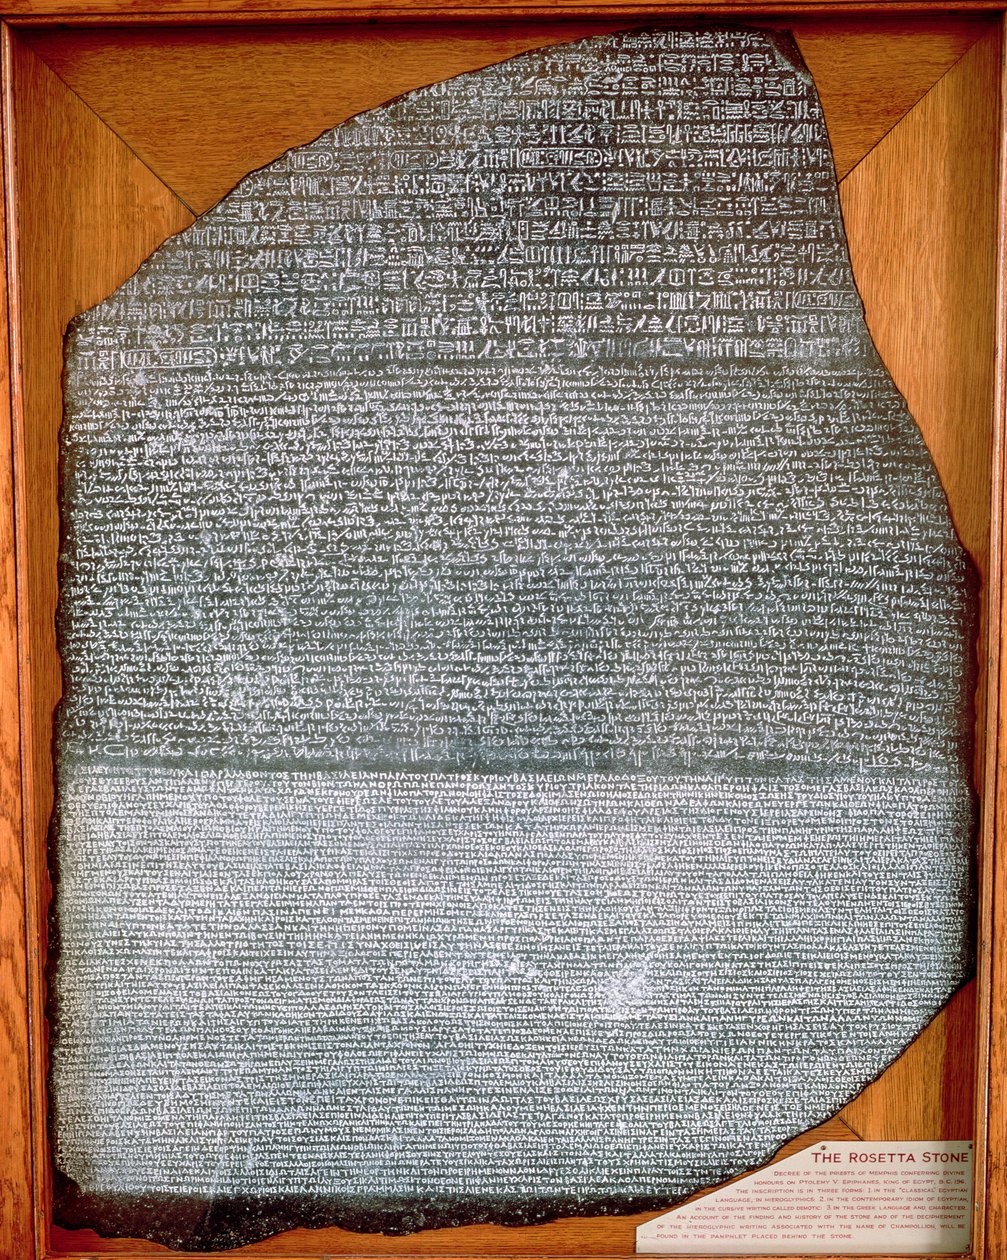
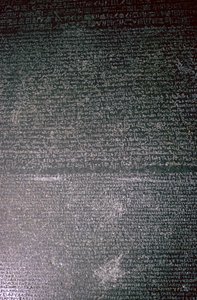
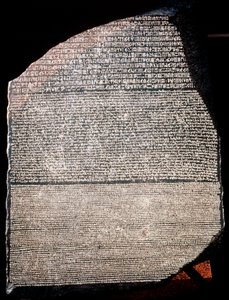
The Rosetta Stone, from Fort St. Julien, El-Rashid (Rosetta), 196 BC by Egyptian Ptolemaic Period

The Rosetta Stone, from Fort St. Julien, El-Rashid (Rosetta), 196 BC

(The Rosetta Stone, from Fort St. Julien, El-Rashid (Rosetta) 196 BC (see also 138897))


Egyptian Ptolemaic Period

€ 121.68
Tax-free
   Configure art print
Undated  ·  stone  ·  Image ID: 407203

Ancient Art  ·  Photographs of old objects

The Rosetta Stone, from Fort St. Julien, El-Rashid (Rosetta), 196 BC by Egyptian Ptolemaic Period. Available as an art print on canvas, photo paper, watercolor board, natural paper, or Japanese paper.
calligraphy · slab · text · hieroglyph · hieroglyphics · script · pierre de rosette · British Museum, London, UK / Bridgeman Images
AR/3D   View in 3D / AR zu Favoriten hinzufügen   Add to favorites    Change wall color    View picture in a room
Note: Only reviews with comments are displayed. Reviews can be submitted directly after purchase in your customer account.

Configure art print

Picture Frame

Medium & Stretcher

Glass & Passepartout

Miscellaneous & Extras

 Save / compare configuration
Preview Icon

Summary

Gemälde
Veredelung
Keilrahmen
Museumslizenz

€ 121.68
(inkl. 20% MwSt)
   Add to cart

Bildschärfe: PERFEKT

If you'd like us to adjust the brightness, colors, or crop the image, we're happy to do this for you at no extra cost. Just get in touch!

Similar artworks selected for you

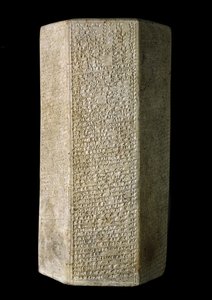
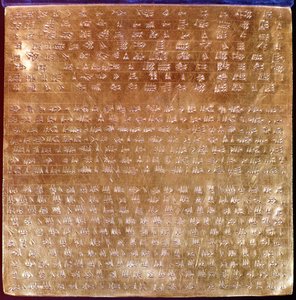
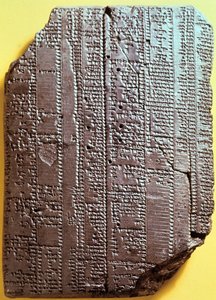
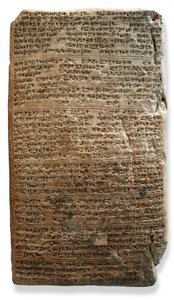
The Rosetta Stone, 196 BC The Rosetta Stone, from Fort St. Julien, El-Rashid (Rosetta) 196 BC The Rosetta Stone The Rosetta Stone Claudienne Table: Speech by Claude Inscribed slab from the palace of Sargon II in Dur-Sharrukin, Khorsabad Sacred marriage rite between the goddess of fecundity and King Iddin Dagan of the Isin Dynasty The Rosetta Stone Annual report on timber and reed production from the city of Unna, year 4 of Bur-sin Engraved Alabaster Slab with Cuneiform Writing from the Fortress of Sargon II at Dur Sharrukin Hittite Civilization: Cuneiform Tablet Transcribing the Ritual of Amihatna Hittite Civilization: Cuneiform Tablet Transcribing the Ritual of Amihatna, High Priest of the Deity Ishara, from the Site of Hattusa. 1650-1200 BC. Istanbul Archaeological Museum Clay Tablet from the Temple of Shamash Tablet Relating the Ritual Sacrifices at the Temple of Anu in Uruk (Warka) Copy of an Ancient Text of 3rd-1st Century BC Victory stele for King Mesha of Moab at Dibon, Eastern Jordan, 842 BC Ancient Orient Art (Hittite): Cuneiform Tablet in Hittite Language Tablet with Cuneiform Script Listing Agricultural Records, c.2040 The Yozat Tablet Inscribed Slab from the Palace of Sargon II in Dur-Sharrukin, Khorsabad Hexagonal Cylinder, Inscribed with the Annals of Esarhaddon King of Assyria, c.676 BC Plaque of Darius I 550-500 BC Babylonian clay tablet with text. 7th century BC. Tablet with syllabary. El Amarna Tablet, c.1350 BC Baked Clay Prism ( Stele of Umm Muhammad Diorite stele with the Code of Hammurabi Kufic Inscriptions Apadana foundation plaques placed by Darius, from Persepolis, engraved in trilingual script: Old Persian, Elamite and Babylonian, late 6th century BC Cuneiform Tablet with Medical Prescriptions, Ninveh
Show more similar artworks

More art prints by Egyptian Ptolemaic Period

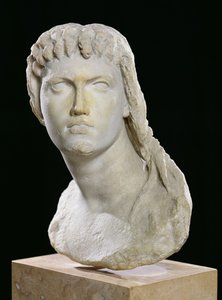
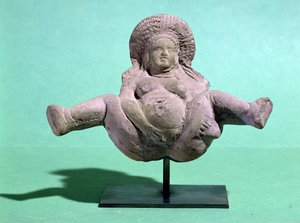
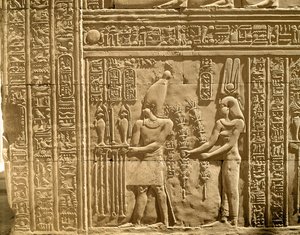
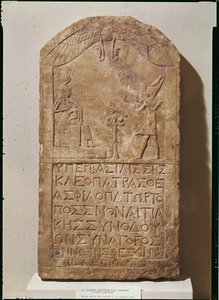
The Rosetta Stone, from Fort St. Julien, El-Rashid (Rosetta), 196 BC Papyrus of a Book of the Dead Statue of the god Montu with the head of a bull, from Medamud (limestone) Ancient Egyptian Art: Statuette of the god Thoth as a baboon. Ptolemaic period (332-30 BC). Silver, faience, gold, sculpture. From Hermopolis, Egypt. Height: 0.150 m. The Gonzaga Cameo, depicting Ptolemy II Philadelphus (285-246 BC) and his wife Arsinoe portrayed as gods of the Greek pantheon, made in Alexandria, 3rd century BC Bust of Cleopatra II (172-116 BC) or her daughter Cleopatra III (141-101 BC) Statuette of a woman giving birth, given to pregnant women for a successful delivery, from Alexandria Relief Depicting Ptolemy VIII Euergetes II (Physkon) and Cleopatra III Making Offerings to the Gods Statue of a Ptolemaic Queen, perhaps Cleopatra VII, 200-30 BC, dolomitic limestone Stele dedicated to Isis depicting Cleopatra VII (69-30 BC) making an offering to Isis breastfeeding her son, Horus, 51 BC Fragment of an Egyptian-style statue of Ptolemy I, 305-283 BC (basalt) Egyptian antiquity: low relief depicting the coronation of King Ptolemy IV. Temple of Horus, Edfu, Egypt Naos Chapel Dedicated to the Goddess Isis by Ptolemy VIII from the Temple of Isis at Philae Bas-relief fragment portraying Cleopatra Ptolemy XII (c.112-51 BC) smiting his enemies, from the entrance pylon of the Temple of Horus
Show more works by Egyptian Ptolemaic Period

More motifs from the category Photographs of old objects

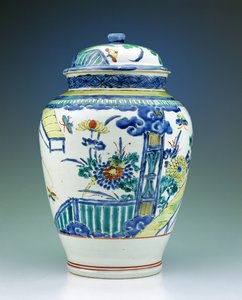
Sioux War Club, from Fort Snelling, Minnesota Effigy of William de Valence (d.1296) Earl of Pembroke, Limoges Attic Black-Figure Amphora Depicting Scenes from the Trojan War (detail) Boats Copan, Stela N, West Side, Late Classic Period, 764 AD Dagger Helmet Mask (tatanua), Northern New Ireland, Papua New Guinea, 1884-95 Silver Sauce-Tureen by Matthew Boulton and John Fothergill Jewellery Box, c.1730 (oak, ebony, pietra dura, bronze and semi-precious stones) Nude Bacchants Riding Panthers Psyche-Spring, also known as the Surprised Nymph, or The Spring, 1886 Jar and Cover Decorated with Kakiemon Enamels, c.1680 Detail of the Underside of the Killamery Brooch, Killamery, County Kilkenny, Viking Age Attic Black-Figure Amphora Depicting Scenes from the Trojan War (detail) Gold Mask of Tutankhamun from the Tomb of Tutankhamun, New Kingdom
View More from "Photographs of old objects"

A selection of our top sellers

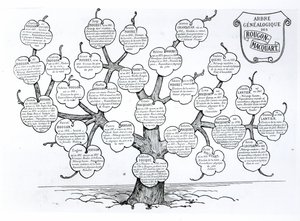
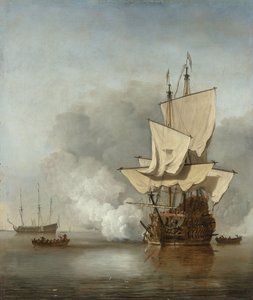
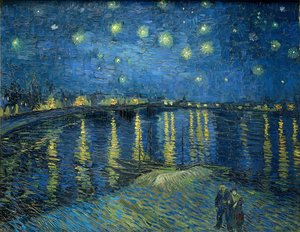
The Temptation of St. Anthony, right-hand panel, detail of a couple riding a fish Genealogical tree of the Rougon-Macquart family Tsuki Plain in Kai Province (Kai tsuki no hara), from the series Thirty-six Views of Mount Fuji Composition, 1930 The Cannon Shot, c. 1680 View of the Naruto whirlpools at Awa, from the series Starry Night Over the Rhône Cattleya Orchid and Three Hummingbirds Open Window, Collioure The School Walk, 1872 Landscape scene from Thanatopsis, 1850 The Seasons: Autumn, 1896 World map Universalis Cosmographia, 1507 Death Urinating Trees and Undergrowth, 1887
Show more artworks


What our customers think about us


Frequently Asked Questions about Meisterdrucke


Personalizing your art print at Meisterdrucke is simple and intuitive: Choose a frame, set the image size, pick a printing medium, and add suitable glazing or a stretcher frame. We also offer additional customization options like mats, fillets, and spacers. If you have any questions, our customer service team is ready to help you create your perfect artwork.

At Meisterdrucke, you can visualize your configured artwork directly in your own room. Simply upload a photo of your space and see how the artwork looks in it. If you're visiting us on a mobile device — phone or tablet — our augmented reality feature brings the picture to life and projects it right into your room. A unique experience that combines art and technology.

Choosing the right medium is often a matter of personal taste. To give you a better idea, we've provided some images for each medium. We also offer a sample set of all paper variants, so you can decide not just visually but by touch as well. You can order the sample set free of charge — only shipping costs apply.

Don't worry! At Meisterdrucke, we don't just process orders mechanically. Every order is manually reviewed by our team. If we spot any inconsistencies or issues with your configuration, we'll get in touch with you right away. And of course, our friendly and patient support team is always here to help you with your configuration. We'll work with you by phone or email to adjust your image so the final result is exactly what you had in mind.


Still have questions?

Are you interested in an art print from our manufactory but still unsure? Do you need advice on choosing the medium or help with the order?

Our experts are happy to assist you.

+43 4257 29415
support@meisterdrucke.com

Mo-Do: 7:00 - 16:00 | Fr: 7:00 - 13:00

Still have questions?

Are you interested in an art print from our manufactory but still unsure? Do you need advice on choosing the medium or help with the order?

Our experts are happy to assist you.

+43 4257 29415
support@meisterdrucke.com
Mo-Do: 7:00 - 16:00 | Fr: 7:00 - 13:00


Meisterdrucke

   Kärntner Strasse 46
        9586 Finkenstein am Faaker See
        Austria
        +43 4257 29415
        support@meisterdrucke.com
Other languages

                   
Erfahrungen & Bewertungen zu Meisterdrucke
Post.at DHL Express Quehenberger Cargoboard
Kaiser Franz Joseph

Meisterdrucke
Kärntner Strasse 46
9586 Finkenstein am Faaker See · Austria
+43 4257 29415 · support@meisterdrucke.com
Post.at DHL Express Quehenberger Cargoboard


(c) 2026 meisterdrucke.us